Learn how to use Smart Cut Quote software to streamline the process of creating accurate and comprehensive quotations for laser cutting projects.
Step 1: Import and Process Industry-Standard Files
- Goal: Understand how to import design files effectively.
- Instructions:
- Open Smart Cut Quote and navigate to the file import section.
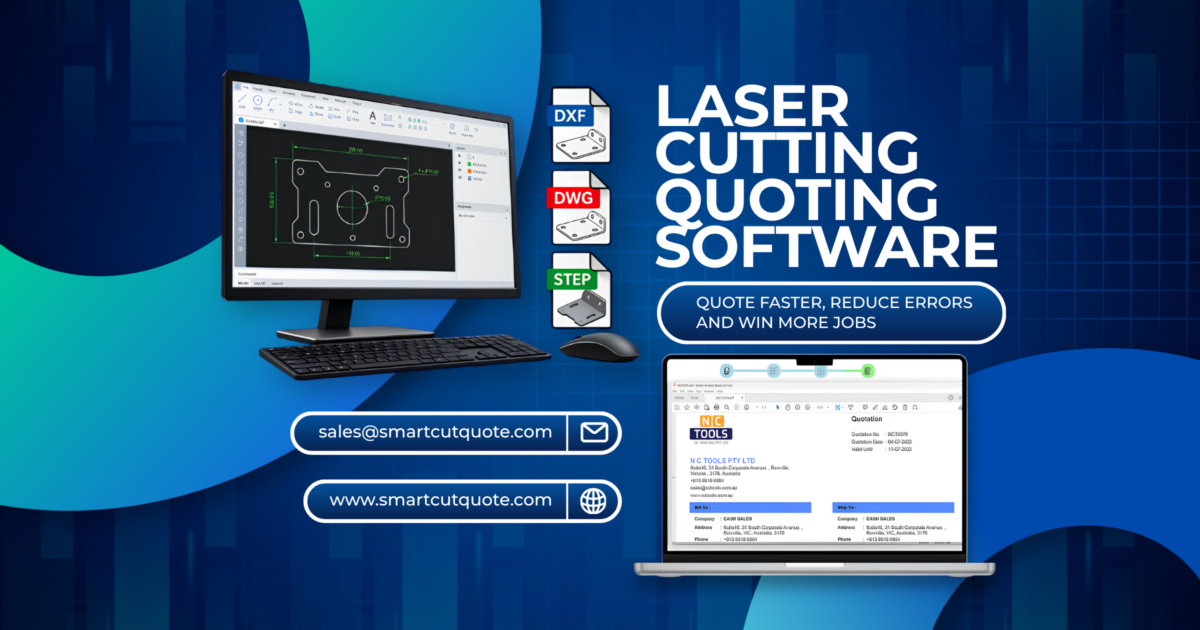
- Import design files in DXF or DWG formats (commonly used in laser cutting).
- Verify that your file has imported correctly and is ready for quoting.
- Note: These formats ensure compatibility and ease of use for both seasoned users and beginners.
Step 2: Use Automatic Error Detection and Correction
- Goal: Ensure accuracy by detecting and correcting design file issues.
- Instructions:
- Run the error detection tool after importing a file.
- Look for any flagged issues, such as overlapping lines or gaps in the design.
- Use the software’s tools to correct these errors.
- Benefit: This step minimises potential delays and ensures a smoother production process.
Step 3: Customise Job Parameters for Precise Quotations
- Goal: Set specific job parameters for accurate cost estimation.
- Instructions:
- Select key job details such as quantity, material type, thickness, and machine specifications.
- Review each parameter to ensure it matches your job requirements.
- Tip: Customising these settings will help you produce quotes that accurately reflect job needs.
Step 4: Include Additional Processes and Costs
- Goal: Produce a comprehensive quote by accounting for all costs.
- Instructions:
- Add any secondary processes (e.g., welding, powder coating) needed for the job.
- Include transportation, handling, and administrative fees if applicable.
- Outcome: This feature allows you to present clients with a complete, transparent cost breakdown.
Step 5: Optimise Material Usage with the Nesting Functionality
- Goal: Minimise waste and reduce material costs.
- Instructions:
- Access the nesting module within the software.
- Arrange parts across material sheets in the most efficient layout.
- Benefit: The nesting function is particularly valuable for jobs with complex layouts or multiple parts, helping you keep material use low.
Step 6: Generate Professional PDF Quotations
- Goal: Create clear, professional quotes to send to clients.
- Instructions:
- Once the quote details are complete, select the PDF generation option.
- Review the PDF quote to ensure all information is accurate and well-organised.
- Send the PDF directly to the client via email from within the software.
- Tip: A professional presentation builds trust and simplifies client communication.
Step 7: Transition Smoothly from Quote to Job Completion
- Goal: Ensure a seamless flow from quote approval to job completion.
- Instructions:
- Once a client accepts the quote, use the software to generate process slips and packaging slips.
- These documents support an organised workflow from production through to delivery.
- Outcome: This feature reduces the risk of errors and ensures a consistent experience for both your team and the client.
For more information:
Contact us on +61 3 8618 6884